Authentication
🤠 You will receive $5.00 of free Bumpups API credit to get started!
To use the Bumpups API, you need to authenticate your requests using an API key. Follow these steps to create your API key:
[1] - Press Enable API
Navigate to Settings > API and click on the Enable API button to activate API functionality.

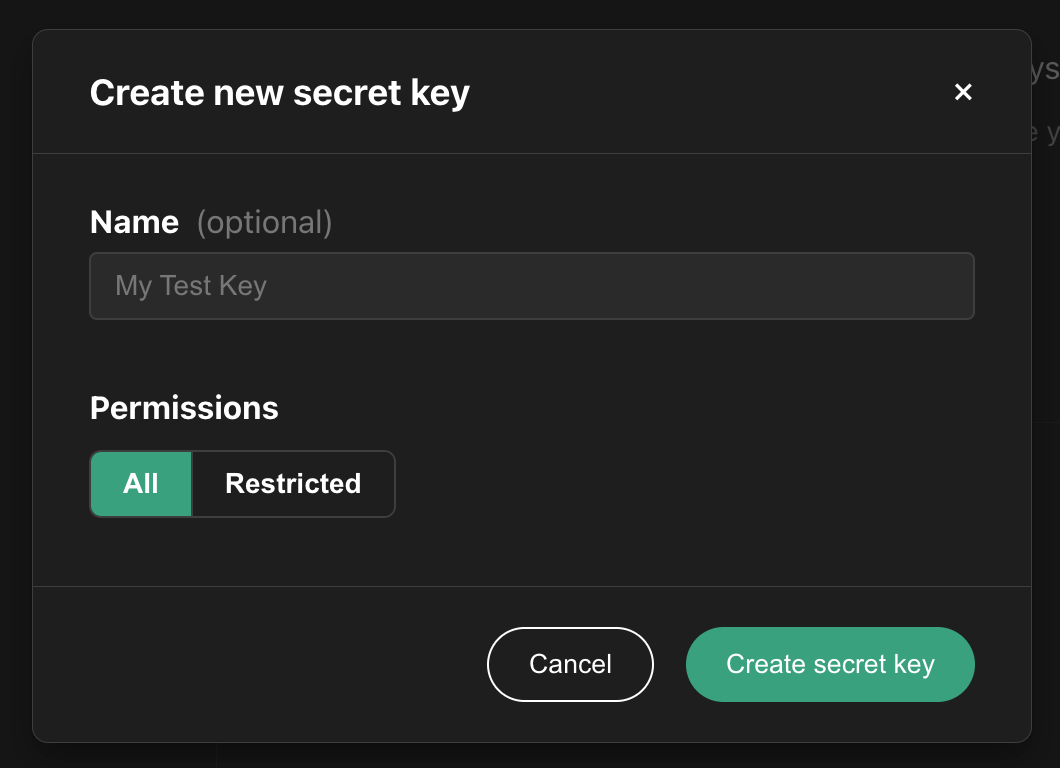
[2] - Create an API Key
After enabling the API, click + Create API Key to generate a new key.
[3] - Choose Your API Key Name
(Optional) Enter a name for the API key. This will help you identify it later.
[4] - Set Permissions
-
All: Grants the key access to all available Bumpups API endpoints.
-
Restricted: Lets you choose which endpoints the key has access to, enabling more granular control.
[5] - Save and Use
Once your key is created, you can copy it, edit its permissions, or delete it if required.

Here’s an example of how to authenticate API calls using the generated key:
curl https://api.bumpups.com/chat \
  --request POST \
  --header 'Content-Type: application/json' \
--header 'X-Api-Key: YOUR_BUMPUPS_API_KEY' \Important:
Keep your API key secure and do not expose it in client-side code. Production requests should be routed through your own backend server where the key can be securely stored.